WE'RE THE HARDWOOD EXPERTS. CALL US NOW: +1 878-217-6297
6 Proven Ways to Change The Color of Your Hardwood Floors
Hardwood floors are not just a design choice; they’re an investment in the warmth and character of a home. Known for their robust durability and timeless appeal, these floors can anchor a room’s style for decades.
However, interior design trends evolve, and so might your taste in home decor. Whether you’re drawn to a contemporary aesthetic or looking to inject a fresh vibe into your space, changing the color of your hardwood floors is a transformative way to adapt to new trends and personalize your environment.
As someone who has navigated numerous home renovations, I’ve seen firsthand how updating the floor color can redefine a space. Below, I’ll guide you through a variety of methods to change the color of your hardwood floors—from tried-and-true techniques to cutting-edge treatments—each capable of revamping your home’s aesthetic and atmosphere.
1. Sanding And Refinishing
Sanding and refinishing stand as the most traditional and comprehensive approach to transforming the color of your hardwood floors. This method strips the floors down to their bare wood, providing a clean slate for a completely new look.
Process Overview
- Sanding: The initial step involves thorough sanding to remove all the old finish, stain, and any surface blemishes or imperfections. This step is critical as it exposes the raw wood, making it ready for a fresh color application.
- Staining: After sanding, you can choose a new stain color that matches your design preferences. Staining is versatile, offering everything from light, airy tones to deep, rich hues.
- Finishing: The final step is applying a new finish that will protect the wood and lock in the new color. This finish not only enhances the floor’s durability but also its aesthetic appeal, giving it a glossy or matte look depending on your preference.
Benefits
- Customization: Sanding and refinishing allow you to dramatically alter the appearance of your floors. You can choose any stain color available on the market, providing limitless possibilities for customization.
- Value Enhancement: By updating the look of your floors, you can increase the overall value of your home, making it more appealing to potential buyers if you plan to sell.
Considerations
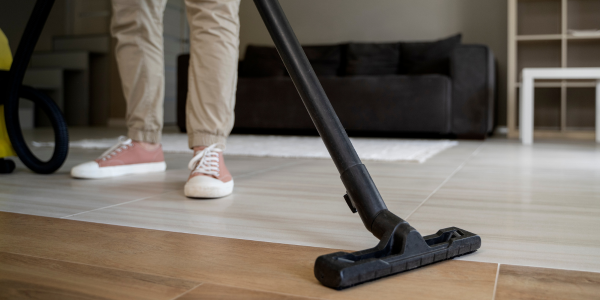
- Labor and Dust: This method is labor-intensive and creates a significant amount of dust. It’s advisable to hire professionals who can contain the dust and minimize the disruption to your daily life.
- Floor Thickness: Regular sanding is not suitable for floors that have been sanded down multiple times or for engineered floors with a thin veneer, as it may wear the wood down too much or reach the composite material.
- Time and Expense: Sanding and refinishing require time and can be more costly than other methods due to the labor involved and the materials used.
Sanding and refinishing your hardwood floors is an excellent choice for those looking to completely renew their flooring and customize their home’s interior to their exact liking. While it demands more upfront effort and investment, the results can be dramatically beautiful and long-lasting.
2. Glazing or Tinted Coating: A Subtle Shift in Shade
Glazing or applying a tinted coating offers a practical solution for those looking to change the color of their hardwood floors without the extensive labor associated with sanding and refinishing. This method involves applying a colored finish directly over the existing floor surface.
Process Overview
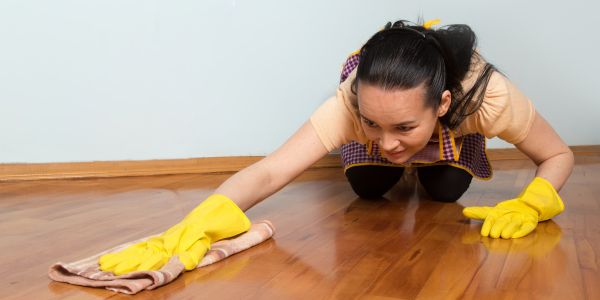
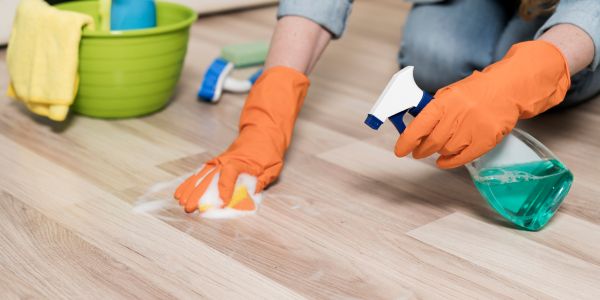
- Preparation: Begin by cleaning the floor thoroughly to ensure that the glaze or coating adheres properly. This might include light sanding or a deep clean to remove any oils, dirt, and grime that could prevent the new finish from sticking.
- Application: Apply a tinted polyurethane, varnish, or another type of tinted coating. These products are designed to be transparent enough to enhance the existing color while adding a new hue to the wood.
- Drying and Curing: Allow the coating to dry and cure according to the manufacturer’s guidelines. Proper curing is crucial to ensure the durability of the finish and the richness of the color.
Benefits
- Convenience: This method is quick and straightforward, often requiring just a day or two to complete, compared to the several days needed for a full sand and refinish.
- Minimal Disruption: Since there is no need for heavy machinery or extensive labor, applying a tinted coating is less disruptive to daily life.
- Flexibility: It’s a reversible change if you decide to return to the original color or opt for a different modification in the future.
Considerations
- Color Limitations: Tinted coatings are more effective for darkening rather than lightening floors. The base color of the wood will significantly influence the final shade achieved, as the transparency of the tinted coating blends with the original color.
- Durability: While a glazed or tinted coating can refresh the floor’s look and offer some protection, it may not be as durable as a complete refinish. The wear layer can degrade over time, particularly in high-traffic areas, potentially leading to uneven color fading.
- Maintenance: Maintaining tinted coatings may require more frequent touch-ups or reapplications compared to more permanent solutions like refinishing.
Choosing to glaze or apply a tinted coating can be an excellent option for those wanting a less invasive update to their hardwood floors. It’s ideal for homeowners looking for a temporary change or those renting their homes, as the process can significantly shift the room’s ambiance without the permanence and expense of full-scale refinishing.
3. Whitewashing: Lighten Up with Style
Whitewashing your hardwood floors can dramatically brighten up your living space, lending a soft, casual feel that’s perfect for contemporary or coastal decors.
Process Overview
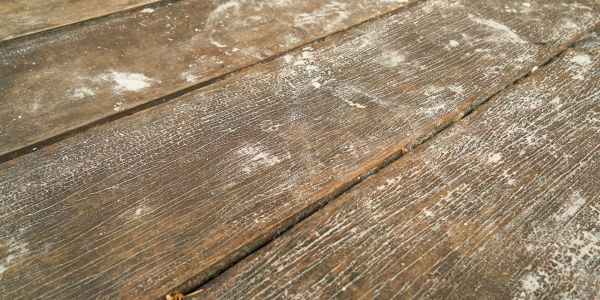
- Preparation: Start by thoroughly cleaning the floor. Sanding may be necessary to remove the existing finish and ensure the wash adheres properly.
- Application: Mix a solution of white paint and water (or purchase a pre-made lime wash), and apply it evenly across the wood using a brush or roller. The key is to work in sections and use a rag or sponge to wipe away excess, allowing the natural grain to show through.
- Sealing: Once the whitewash has dried, apply a clear coat of sealer to protect the paint and enhance durability.
Benefits
- Aesthetic Appeal: Whitewashing can significantly lighten your floors while still showcasing the wood’s natural textures and patterns, offering a unique aesthetic that fully adheres to modern design trends.
- Versatility: This technique works well with many decor styles, particularly those that emphasize a bright and airy atmosphere.
Considerations
- Wood Type Compatibility: Whitewashing tends to yield the best results on lighter woods like oak or pine. Darker woods might require bleaching before whitewashing to achieve the desired effect, which can complicate the process.
- Maintenance: While whitewashed floors are beautiful, they may require more maintenance to keep them looking fresh and clean, especially in high-traffic areas.
4. Chemical Staining: Deep Color Transformation
Chemical staining is a method that alters the wood’s inherent color by triggering a chemical reaction with its natural tannins, creating deep and complex hues that are both unique and captivating.
Process Overview
- Preparation: Clean the floor thoroughly and ensure it is completely dry. Sand if necessary to open up the wood’s pores.
- Application: Apply a chemical such as iron acetate or ammonia directly to the wood. These chemicals react with the tannins present in the wood, developing a rich, deep color.
- Neutralization: After achieving the desired color, it’s crucial to neutralize the chemical reaction to prevent further changes. This step often requires washing the floor with a specific neutralizing solution.
- Sealing: Seal the stained wood with a high-quality protective finish to lock in the color and protect the floor from wear and tear.
Benefits
- Distinctive Finish: Chemical stains can produce a coloration that is not achievable with traditional stains, offering a unique aesthetic.
- Durability: The color changes are permanent and penetrate deeply into the wood, making them very durable.
Considerations
- Unpredictability: Each wood type reacts differently to chemical stains, making outcomes somewhat unpredictable. Test patches are highly recommended.
- Safety and Ventilation: Handling chemicals requires careful safety precautions, including adequate ventilation and protective gear.
5. Dyeing: Vibrant Translucence
Dyeing offers a way to infuse your hardwood floors with vibrant and translucent colors that penetrate deeply into the wood, showcasing its natural grain while adding a personalized touch.
Process Overview
- Preparation: Begin with a clean and sanded surface to ensure optimal dye absorption.
- Application: Apply the chosen water-based or alcohol-based dye evenly onto the wood using a brush, cloth, or sprayer. Multiple coats may be needed to achieve the desired intensity.
- Sealing: Once the dye has dried completely, seal the floor with a clear protective finish to enhance durability and preserve the color.
Benefits
- Color Intensity: Dyes provide clear and intense colors that highlight the wood’s unique grain patterns, creating a visually striking floor.
- Customization: Dye colors can be mixed and layered to create custom shades, offering endless possibilities for personalized floor designs.
Considerations
- Application Technique: Careful application is crucial to avoid blotchiness or uneven coloration. Testing on a small, inconspicuous area is recommended.
- Maintenance: While dyes offer long-lasting color, periodic maintenance may be necessary to preserve the vibrancy of the hues.
6. Two-Tone Effects: Artistic Expression
Embrace artistic expression and add depth to your hardwood floors with **two-tone effects**, creating captivating contrasts and visual interest.
Process Overview
- Design Planning: Determine the areas where each color will be applied, considering room layout and design preferences.
- Masking and Application: Use masking techniques such as tape or stencils to create precise boundaries between colors. Apply the first color in designated areas and allow it to dry before applying the second color.
- Finishing Touches: Once both colors have dried completely, remove masking materials and apply a protective finish to seal and protect the floor.
Benefits
- Visual Impact: Two-tone effects add depth and dimension to your floors, making them a focal point of your interior design.
- Customization: Tailor the colors and patterns to complement your decor style and create unique flooring designs.
Considerations
- Precision: Achieving clean and crisp transitions between colors requires meticulous planning and execution.
- Compatibility: Ensure the chosen colors harmonize with your overall design scheme for a cohesive look.
By exploring dyeing and two-tone effects, homeowners can unleash their creativity and transform hardwood floors into captivating works of art that elevate the ambiance of any space.
Professional Consultation
For expert guidance on transforming the color of your hardwood floors, consider a professional consultation with our team at Hardwood Flooring Los Angeles. Our brand stands out for its commitment to quality craftsmanship, innovative solutions, and personalized service. With years of experience in the flooring industry, we understand the nuances of hardwood floor coloration and can recommend the most suitable method based on your specific needs.
When you choose us, you benefit from:
1. Expertise: Our knowledgeable team of flooring specialists possesses in-depth knowledge about various color-changing techniques, ensuring accurate assessments and tailored recommendations for your floors.
2. Custom Solutions: We believe in delivering customized solutions that align with your aesthetic preferences and home decor, creating unique and stunning flooring transformations.
3. Quality Products: We source high-quality stains, dyes, and finishes from trusted manufacturers, guaranteeing durable and long-lasting color results that enhance the beauty of your hardwood floors.
4. Professionalism: From initial consultations to project completion, we maintain a professional approach, adhering to timelines, and ensuring meticulous attention to detail throughout the color-changing process.
5. Customer Satisfaction: Your satisfaction is our priority. We strive to exceed your expectations, providing exceptional service, transparent communication, and seamless execution from start to finish.
Ready to revitalize your hardwood floors with a captivating new color? Contact Hardwood Flooring Los Angeles today for a comprehensive consultation and discover the transformative possibilities for your home. Unlock the beauty of your floors with our expertise and make a lasting impression with stunning, customized hardwood floor coloration.
.