WE'RE THE HARDWOOD EXPERTS. CALL US NOW: +1 878-217-6297
How to Fix Scratches on Hardwood Floors – Complete Guide 2024

A Master Guide To Repairing Scratches on Your Hardwood Floors
No matter how careful you are, scratches on hardwood floors are inevitable—but they don’t have to be permanent. Drawing from three years of expertise in restoring and maintaining these beautiful surfaces, this guide offers practical solutions to effectively erase scratches, from superficial scuffs to deeper marks.
Whether these blemishes stem from daily traffic, accidental drops, or enthusiastic pets, I’ll walk you through a series of tried-and-true repair techniques that will revive your floors and extend their life, keeping them looking as immaculate as the day they were installed. Let’s dive into the specifics of each repair method and explore preventive measures to protect your cherished hardwood floors.
Certainly! Let’s enhance the section on understanding hardwood floors with more detailed information, providing a deeper dive into the characteristics, maintenance, and nuances of different types of hardwood flooring.
Understanding Hardwood Floors
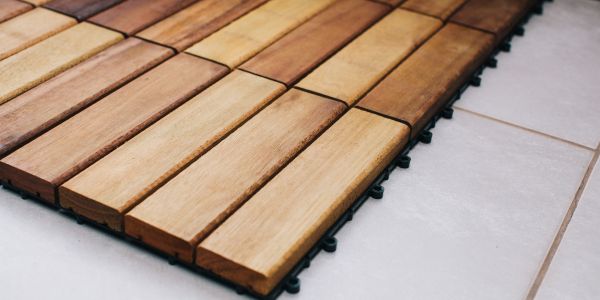
When it comes to maintaining the beauty and longevity of your hardwood floors, a foundational understanding of their types and characteristics is crucial. The type of hardwood floor you have not only influences how it reacts to wear and tear but also dictates the best methods for repairing and preventing scratches. Here’s a closer look at the two primary types of hardwood floors and what makes each unique in its care and maintenance requirements.
Types Of Hardwood Floors
1- Solid Hardwood
Made from single, solid pieces of wood, these floors are renowned for their durability and the rich depth they add to any room. One of the greatest advantages of solid hardwood is its ability to be sanded and refinished multiple times over its lifetime. This process involves stripping away the top layer of the wood to remove deep scratches, dents, or stains, revealing a fresh layer underneath that can be treated with a new finish. Solid hardwood is often preferred for its longevity and the ability to completely renew its surface, making it an excellent investment for areas in your home that might see changing styles or heavy foot traffic over the years.
2- Engineered Hardwood:
This type of flooring consists of a thin layer of hardwood bonded over a core of high-quality plywood. Engineered hardwood provides the beauty of hardwood with increased resistance to changes in humidity and temperature. However, because the top layer of real hardwood is much thinner than solid hardwood, the options for sanding and refinishing are limited. Typically, engineered hardwood can be lightly sanded and refinished once or twice during its lifetime, depending on the thickness of the hardwood veneer. This makes it a suitable choice for regions with varying climate conditions or for rooms like kitchens and basements where moisture levels might vary.
Before You Start
Before embarking on any repair, accurately assessing the depth and extent of the scratch on your hardwood floor is crucial. This initial evaluation will not only influence your choice of repair method but also determine the materials you’ll need. For shallow, surface-level scratches that don’t penetrate the wood’s stain, simple buffing might suffice. However, deeper scratches that reach the wood itself will require a more comprehensive treatment involving filling and refinishing.
To properly assess a scratch:
1. Clean the Area: Remove any dust or debris with a soft cloth to see the scratch clearly.
2. Examine the Depth:Use a flashlight to shine light across the scratch. This helps in understanding whether it has cut into just the finish or deeper into the wood.
3. Check the Width: Determine if the scratch is a fine line or a wider gouge. Wider scratches may need more filler material to repair.
This assessment will help you gather the appropriate tools and materials, ensuring you approach the repair effectively, without causing further damage to the floor.
Tools And Materials
The right tools and materials are essential for effectively repairing scratches in hardwood floors. Depending on the severity of the scratch, the requirements can vary significantly:
For Light Scratches
- Fine Steel Wool: Use to gently buff out light scratches. It’s important to rub along the grain of the wood to avoid additional marks.
- Mineral Spirits: Helps clean the area and can reduce the visibility of minor scratches by blending them into the existing finish.
- Hardwood Floor Polish or Wax: After buffing, applying a layer of polish or wax can restore the shine and provide a protective coating.
For Deep Scratches
- Plastic Putty Knife: Used to apply wood filler, ensuring a smooth, even fill that doesn’t damage surrounding areas.
- Pre-colored Wood Filler: Choose a filler that matches the color of your wood. This will fill the scratch and make it almost invisible after sanding and finishing.
- Fine-Grit Sandpaper: After the filler has dried, sanding it down flush with the floor’s surface is crucial for a seamless look. Start with a coarser grit and finish with a fine grit to smooth the area.
- Wood Stain (optional): If the filler doesn’t perfectly match, a touch of stain over the filled area can help blend it into the surrounding wood.
- Clear Polyurethane Finish: Apply over the repaired area to seal the wood filler and match the sheen of the rest of the floor, protecting it from future wear and tear.
Gathering these tools and materials before starting the repair will streamline the process and ensure that you can complete the repair efficiently and effectively. Each item plays a role in restoring the beauty of your hardwood floors, ensuring that the repairs are not only effective but also enduring.
Repair Methods
Effective scratch repair on hardwood floors depends on the severity of the scratch. Below are detailed methodologies for both light and deep scratches, ensuring that you can handle each situation with precision and restore your floor to its original condition.
1- Light Scratch Repair: Light scratches typically only affect the finish of the hardwood floor and do not penetrate the wood itself. They can be treated with relatively simple techniques.
2. Clean and Prep: Start by thoroughly cleaning the scratched area to remove any dust, dirt, or debris. Use a soft cloth or a brush with soft bristles to gently sweep the area, ensuring that no particles remain that could cause further scratching during the repair process.
3. Minimize Visibility: Moisten a soft cloth with mineral spirits, which is a mild solvent that can help to dissolve and redistribute some of the existing finish around the scratch. Gently rub the cloth over the scratch in the direction of the wood grain. This step helps to blend the scratch into the surrounding area, making it less noticeable.
4. Buff and Polish: Once the mineral spirits have dried, take a piece of fine steel wool and lightly buff the area to smooth out any remaining irregularities. It is crucial to move along the grain of the wood to avoid creating cross-grain scratches. After buffing, apply a small amount of hardwood floor polish or wax. Use a clean, soft cloth to apply the polish in a circular motion, then buff to a shine. This not only restores the sheen but also adds a protective layer that helps prevent future scratches.
Deep Scratch Repair:
Deep scratches extend into the wood beneath the finish and require a more intensive repair process to fill and conceal the damage.
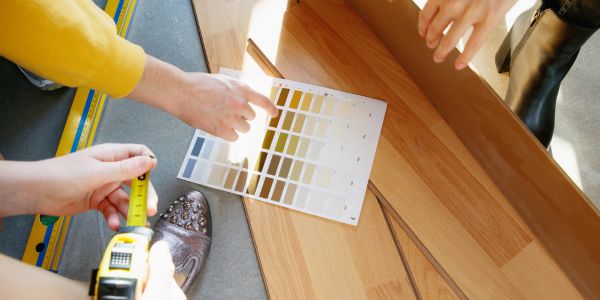
1. Filling the Gaps: Begin by selecting a wood filler that closely matches your hardwood floor’s color. If necessary, mix different shades of wood filler to achieve a closer color match. Using a plastic putty knife, apply the filler into the scratch, pressing down firmly to ensure it fills the entire depth and length of the scratch. Overfill the scratch slightly to account for the possibility of the filler shrinking as it dries.
2. Sanding: Allow the filler to dry completely, following the manufacturer’s recommended drying time, which can vary from a few hours to overnight. Once dry, use fine-grit sandpaper to sand the filled area until it is flush with the surrounding floor surface. Be gentle and keep your sanding strokes in line with the wood grain to avoid creating additional scratches.
3. Staining and Finishing: If the filled scratch is still visible after sanding, you may need to apply a wood stain that matches the rest of your floor. Use a small artist’s brush to carefully apply the stain, wiping away any excess with a clean cloth. Allow the stain to dry completely. Finally, apply a clear polyurethane finish over the repaired area to seal the wood filler and match the sheen of the rest of the floor. It’s important to apply the finish smoothly and evenly, possibly using a small roller for a consistent texture. Allow this to dry and cure as recommended by the product instructions.
These detailed steps for both light and deep scratch repair ensure that you can effectively restore your hardwood floors, extending their beauty and life while maintaining a professional-looking finish.
Preventive Measures
Preventive care is essential to maintain the longevity and aesthetic appeal of your hardwood floors. By implementing the following strategies, you can minimize the occurrence of scratches and extend the life of your flooring.
1- Furniture Pads
Place protective pads under all furniture legs, especially on chairs, tables, and large furniture pieces that are moved frequently. These pads act as a buffer between your furniture and the hardwood floor, distributing weight more evenly and preventing scratches or gouges when the furniture is moved or used daily. Opt for felt pads or rubber pads as they provide excellent protection and are easy to replace when worn out.
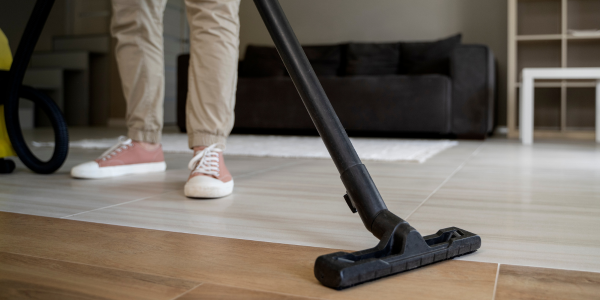
2- Regular Maintenance
Regular maintenance is crucial for keeping your floors in pristine condition. Sweep, dust mop, or vacuum the floor at least once a week to remove dirt, grit, and debris that can act like sandpaper underfoot, scratching the floor as people walk across it. In high-traffic areas, consider placing throw rugs or runners that can be washed or replaced periodically. These rugs not only capture much of the incoming dirt but also add a decorative touch to your space.
3- Pet Nails
Pets, especially dogs, can easily scratch hardwood floors with their nails. Keeping pet nails trimmed is a simple yet effective way to prevent this type of damage. Regular nail maintenance should be part of your pet’s grooming routine. Additionally, placing mats or rugs in your pet’s favorite spots can also help minimize scratches.
Aftercare Tips
Maintaining your hardwood floors after repairs is crucial for preserving their appearance and ensuring the longevity of the repairs. Follow these aftercare tips to keep your floors looking their best.
1- Routine Cleaning
Use cleaning products specifically designed for hardwood floors. Avoid using all-purpose cleaners or too much water, which can damage the finish and even warp the wood. For routine cleaning, opt for a dry or damp mop with a microfiber pad which attracts dust and dirt without scratching the floor’s surface. If you use a liquid cleaner, spray it onto the mop head rather than directly onto the floor to control the amount of moisture applied.
2- Avoid Water and Spills
Water and other liquids are among the biggest threats to hardwood floors. Clean up spills immediately to prevent water from seeping into the seams of the wood, which can cause staining, warping, and deterioration of the finish. Place mats at exterior doors and in front of sinks and dishwashers to catch any drips or spills before they reach the floor.
3- Annual Check-Ups
Conduct an annual inspection of your hardwood floors to identify any signs of wear and tear or damage. Look for fading, discoloration, scratches, or separation between boards. Early detection of these issues can prevent more extensive and expensive repairs later. Consider reapplying a finish or polish to areas that receive high foot traffic to restore shine and provide additional protection.
By implementing these preventive measures and aftercare tips, you can significantly extend the life and beauty of your hardwood floors, ensuring they continue to add warmth and elegance to your home for many years.
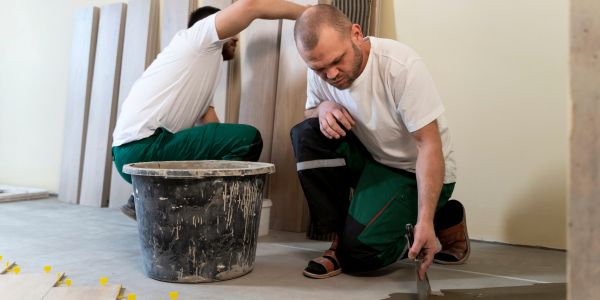
When to Call a Professional
While DIY methods can be effective for minor scratches, deeper or more extensive damage often requires professional intervention to ensure the best possible restoration. At Hardwood Flooring Los Angeles, we specialize in bringing your hardwood floors back to their original splendor. Our team of skilled professionals is equipped with the tools, expertise, and experience necessary to handle any hardwood floor repair, no matter the complexity.
Why Choose Hardwood Flooring Los Angeles?
- Expertise: With years of experience in hardwood floor restoration and maintenance, our team understands the nuances of different wood types and the best techniques to repair them.
- Quality Workmanship: We pride ourselves on delivering superior results that not only meet but exceed our customers’ expectations.
- Custom Solutions: Every floor is unique, and so is every scratch. We offer personalized service to address the specific needs of your hardwood floors.
- Comprehensive Services: From minor scratch repairs to major renovations and refinishing, we provide a full range of hardwood flooring services.
- Customer Satisfaction: At Hardwood Flooring Los Angeles, your satisfaction is our top priority. We ensure a hassle-free process from start to finish, with clear communication and professional advice.
If your DIY repair attempts have not been successful, or if you are dealing with deep or widespread scratches that detract from the beauty of your floors, it’s time to call in the experts. Trusting a professional like Hardwood Flooring Los Angeles can save you time, money, and the frustration of imperfections.
Don’t wait until the damage becomes more severe. Contact us today to schedule a consultation and see how we can restore the elegance and integrity of your hardwood floors. Visit us online at Hardwood Flooring Los Angeles or call us directly to learn more about how we can help you maintain the beauty and value of your hardwood floors.